 yuanming@yuanming.com.cn
  86-755-89703008
Restaurant Placemat Size: A Practical Measuring Guide
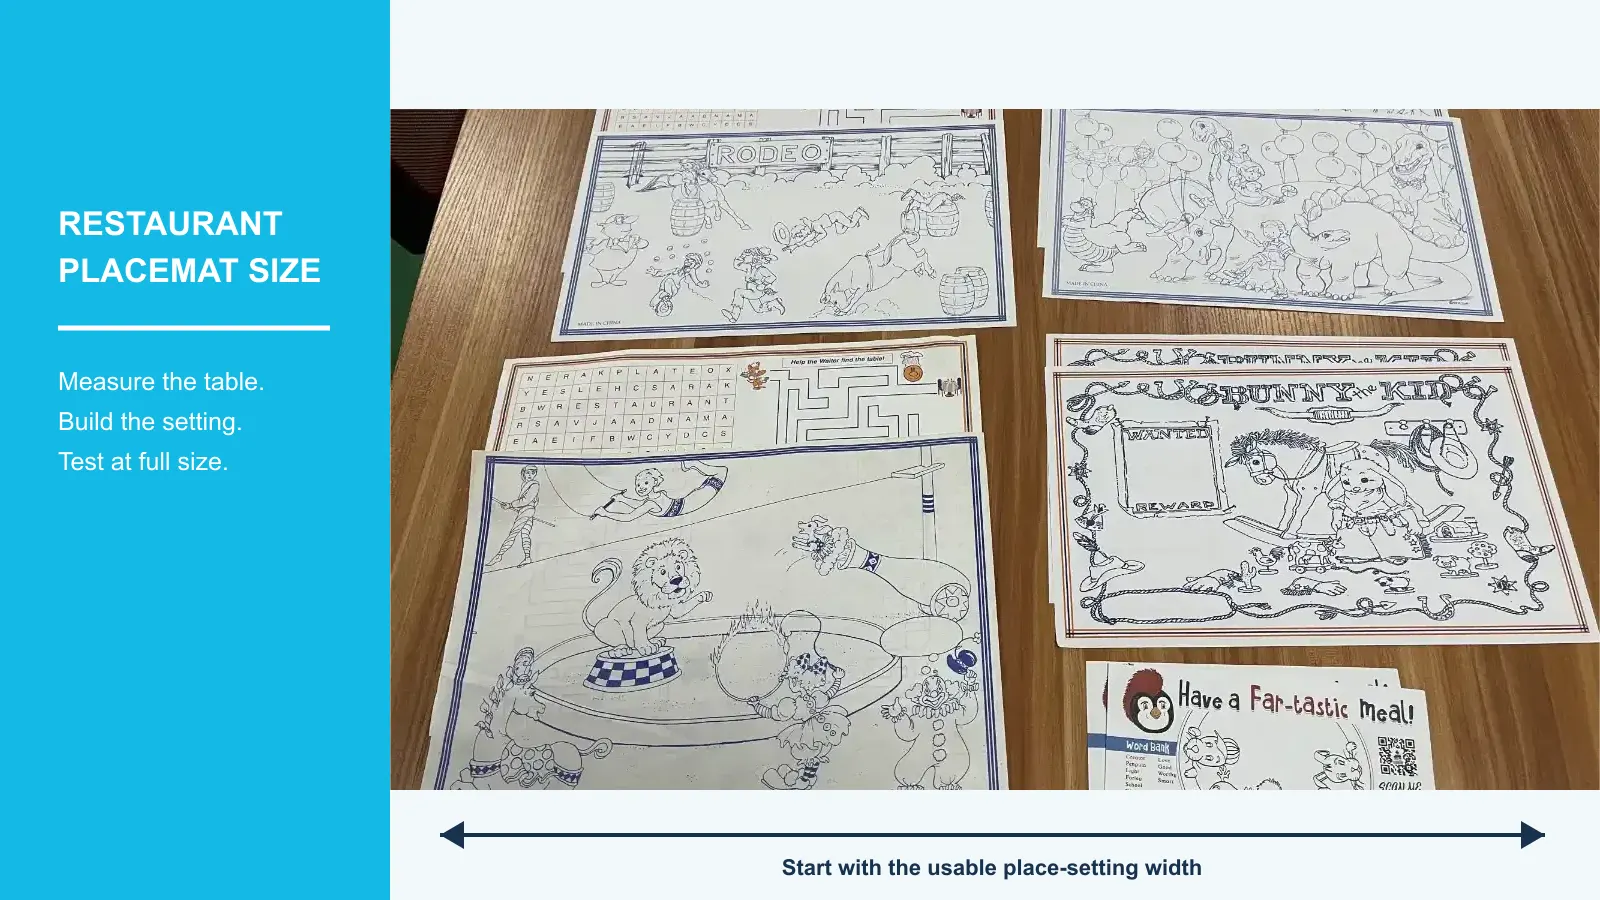
A useful restaurant placemat size is not chosen from a chart alone. Measure the usable table area for one diner, build the real place setting with the largest plate, cutlery and glass, then test a paper mockup at full size. The right finished dimensions should fit the table without crowding the guest and should keep important printed content visible during the meal.
This guide gives purchasing and operations teams a repeatable way to move from table measurements to a quote-ready specification. It also explains where common size suggestions help—and why they should remain starting points rather than universal rules.
The one-minute sizing method
- Measure the width and depth available to one diner.
- Place the largest plate, cutlery and glass used in service.
- Add a paper rectangle beneath the setting and adjust it until service feels comfortable.
- Print the proposed artwork at 100% and test what remains visible.
Measure the Usable Table Area
Start with the space one diner can actually use, not the total tabletop. Divide a shared table into realistic place settings and account for table legs, condiment holders, centrepieces, shared dishes and the space servers need to place or remove items. Repeat the measurement on your smallest table and on any narrow counter seating.
Record width and depth separately. Width controls whether adjacent settings overlap; depth controls whether the placemat approaches the table edge or conflicts with shared items in the centre. If several table types are used, note the smallest practical area rather than averaging them. A single finished size can then be tested against the limiting table.
Build the Full Place Setting
Measurements become meaningful only after the service items are in place. Use the largest main plate or tray, the normal cutlery arrangement, a glass and any side dish that regularly sits in front of the guest. If breakfast, lunch and dinner settings differ, test the busiest arrangement.
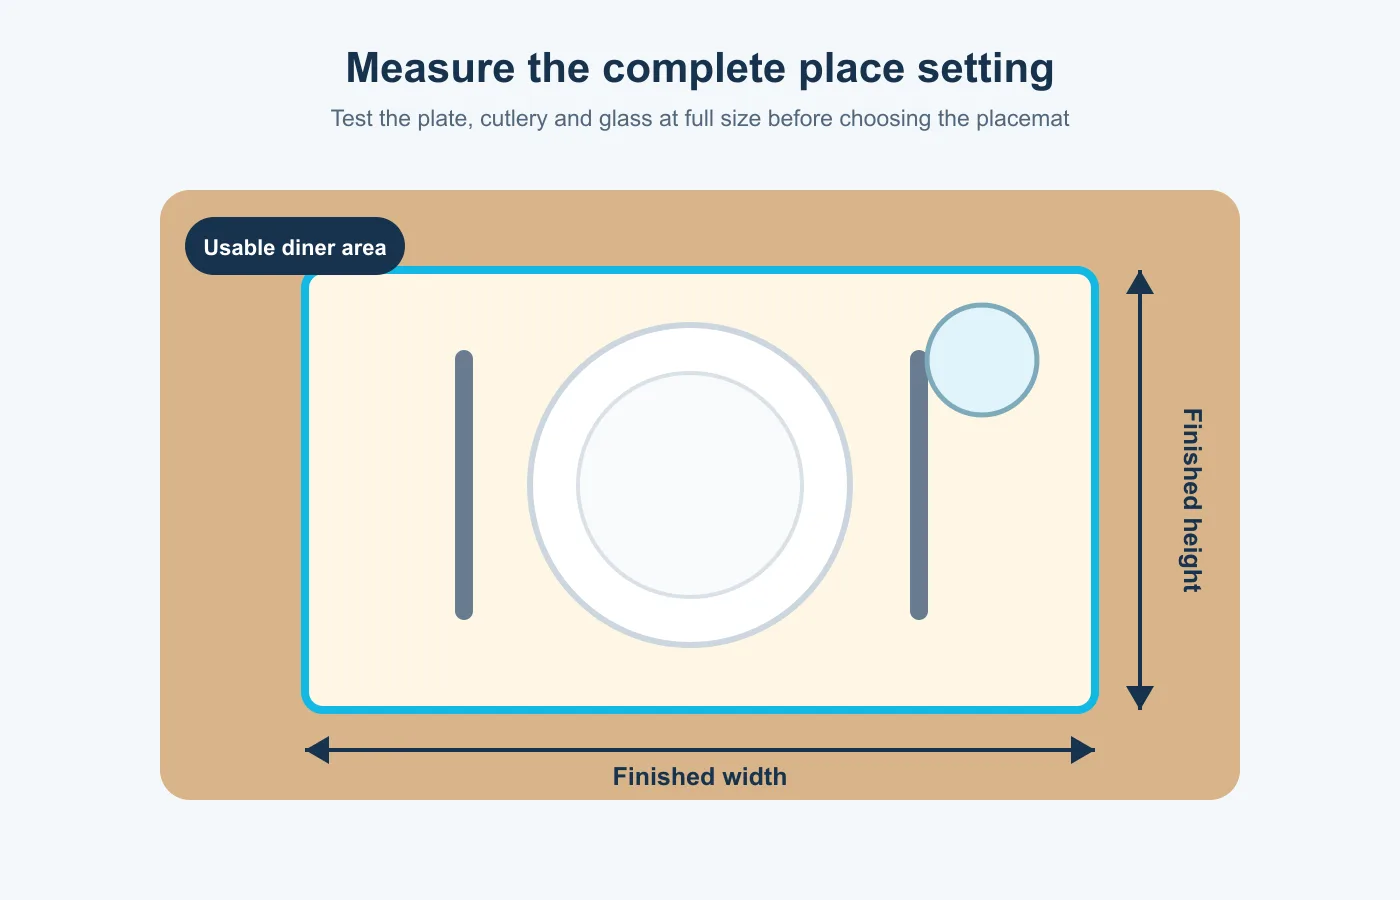
Do not assume every object has to sit fully inside the printed area. What matters is whether the placemat supports your intended presentation without creating unstable edges or visual clutter. Leave enough room for a guest to move cutlery and for staff to clear the table without catching an oversized sheet.
Choose a Restaurant Placemat Size
Size charts can help you create prototypes, but they cannot see your table. Current supplier guides commonly discuss compact, medium and larger rectangular placemats, yet the same dimensions behave differently on a two-top, a communal table and a counter. Treat any suggested dimension as a test piece, not as proof that it fits.
| Table or service condition | What to test | Likely adjustment |
|---|---|---|
| Small two-top or counter | Overlap between adjacent settings and distance from the edge | Reduce width before reducing the writing or activity area |
| Standard casual dining table | Plate, cutlery, glass and shared condiments together | Balance the setting with the printed message area |
| Large plate or tray service | How much artwork remains visible after food arrives | Increase the outer information zones, if table space allows |
| Kids activity use | Reach, writing area and whether crayons stay on the sheet | Protect a clear activity zone away from food and drink |
If no single size works across the restaurant, compare the cost and operational simplicity of one compromise size with the value of two purpose-built sizes. That is a purchasing decision: fewer versions are easier to store, while a better table fit may improve presentation and usability.
Match Size to Printed Content
The finished dimensions must support the job the placemat performs. A simple logo and brand message need less protected space than a mini menu, QR offer or children’s activity. Sketch the plate footprint on the layout so essential text is not hidden as soon as food arrives.
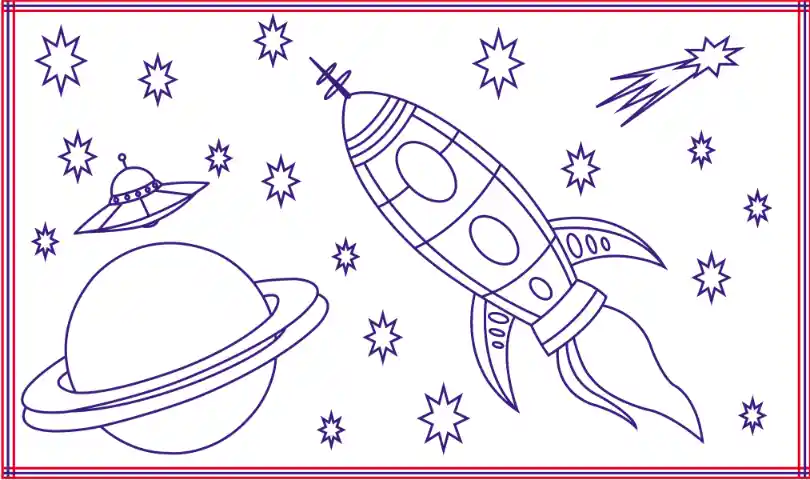
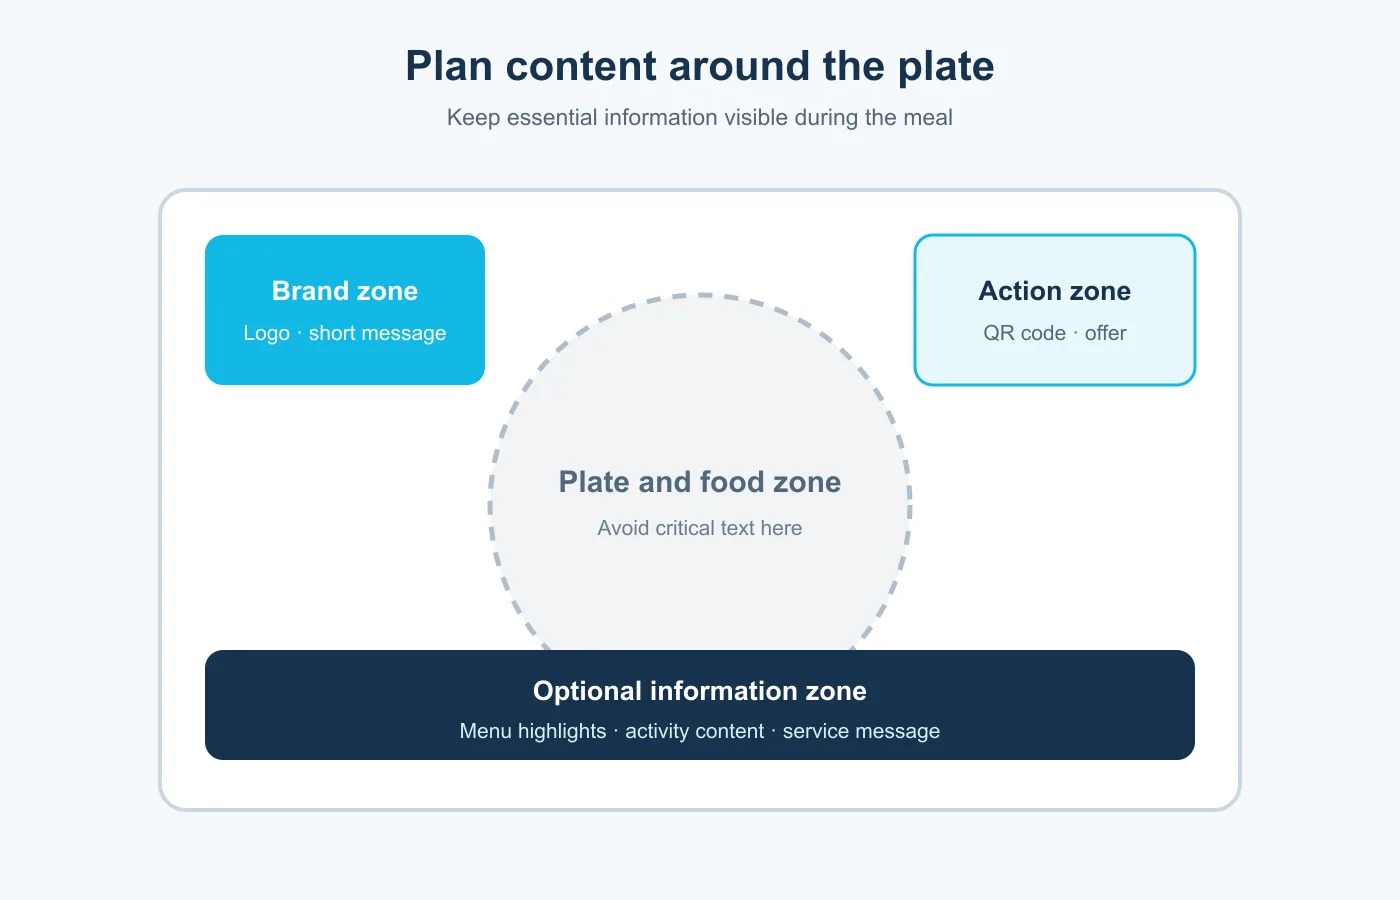
Keep the most important message in a zone that stays visible. A logo may sit near an upper corner, a QR code needs clear surrounding space and activity content needs room for a hand to move. Avoid shrinking type merely to preserve an arbitrary finished size; edit the message or increase the dimensions when the table allows it.
Test a Full-Scale Paper Mockup
Create a plain paper rectangle at the proposed finished dimensions. If it is larger than an office printer sheet, tape pages together without scaling the design. Put the mockup through a complete service cycle: setting the table, seating a guest, placing food, clearing dishes and wiping or resetting the surface.
- Does the placemat remain flat and fully supported?
- Can two adjacent guests use their settings without overlap?
- Are the logo, offer and QR code visible when the plate is present?
- Can staff place and clear items without catching the edges?
- Does the smallest table still feel comfortable?
Mark every problem directly on the mockup. A few minutes of physical testing is more informative than judging dimensions on a monitor, where scale and available table space are easy to misread.
Prepare Artwork at Final Size
Once the restaurant placemat size is approved, build the artwork at that finished size and confirm orientation, single- or double-sided printing, colours and paper. Keep critical text inside the printer’s safe area. If colour or images reach the edge, extend them beyond the trim into the required bleed.
Adobe explains that bleed extends artwork past the trim line to prevent unwanted white gaps after cutting; its current InDesign guidance notes that 0.125 inch (3 mm) is typical but should be verified with the print provider. Follow the specification supplied for your job rather than assuming one setting fits every production method. See Adobe’s print bleed and slug guidance.
Create a Quote-Ready Specification
Give the printer a written specification instead of a visual reference alone. Include finished width and height with units, orientation, quantity, paper preference, print colours, single- or double-sided layout, packing requirements and the intended use. Attach the print-ready artwork and, if possible, a photo of the tested mockup on the actual table.
PrintingMaxx offers custom paper placemat printing with standard or custom dimensions, paper and colour choices, and single- or double-sided layouts. You can also review the wider restaurant paper printing range or contact PrintingMaxx with your measured dimensions, artwork and quantity for review.
Restaurant Placemat Size FAQs
Is there one standard restaurant placemat size?
No single size fits every table, plate and purpose. Common supplier dimensions are useful prototype starting points, but the finished choice should pass a full-scale test on the smallest relevant table.
Should the plate fit completely inside the placemat?
Not necessarily. The placemat should support the intended presentation and remain stable, while leaving sufficient room for adjacent diners and service. Test the complete setting rather than applying a fixed rule.
Can one placemat size work on every table?
It can when the smallest table comfortably supports it. Test the proposed size on counters, two-tops and larger tables before standardising. If the compromise weakens usability, compare two sizes.
What information should I send for a placemat quote?
Send finished dimensions and units, orientation, quantity, paper preference, colour requirements, number of printed sides, packing needs and artwork. Note the use case, especially when the sheet includes a menu, QR code or activity content.