 yuanming@yuanming.com.cn
  86-755-89703008
What Should a Work Order Form Include? A Practical Field Checklist

A useful work order form should identify the job, customer and service location; tell the technician what to do; provide space for labor, materials and results; record dates and status; and capture customer approval plus copy routing. If you are asking what should a work order form include, start with the path the completed form follows—not with a generic template.
The best field list is short enough to complete at a busy job site but detailed enough for the office to invoice, file and schedule follow-up without calling the technician for missing information. The checklist below is designed for purchasing and operations teams planning a printed form for service, repair, installation or maintenance work.
Key takeaways
- Build the form around who creates, completes, approves and stores the record.
- Group fields by task so technicians can scan the page instead of hunting for boxes.
- Confirm copy recipients and production details before requesting a print quote.
Start with the Job Workflow
Before choosing fields, follow one typical job from the office to the customer site and back. Who opens the work order? What must the technician know before arriving? What facts are recorded during the visit? Who approves the result? Which team uses the completed form next?
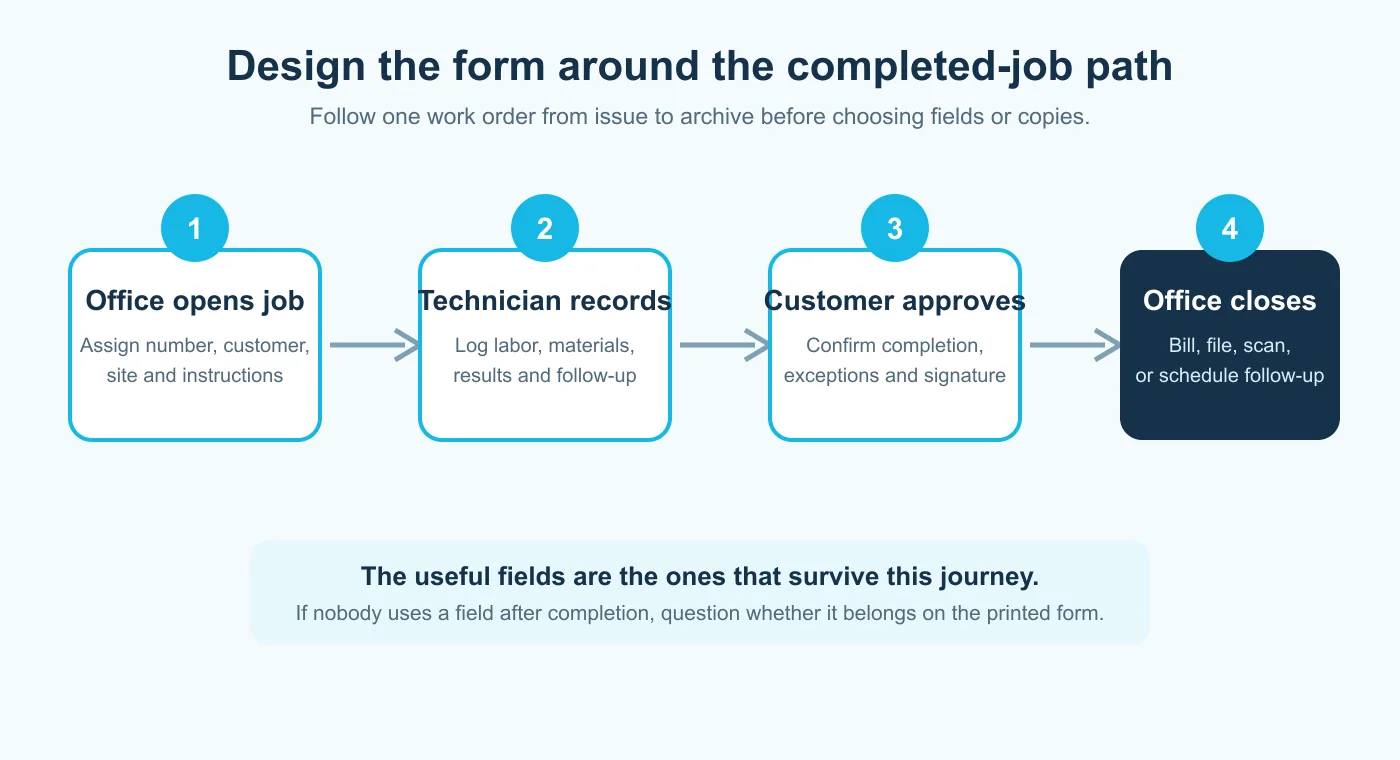
This workflow test prevents two common problems: a crowded form full of fields nobody uses, and a clean-looking form that omits information needed for billing or follow-up. Microsoft’s current field-service documentation similarly organizes work orders around service accounts, status, priority, dates, instructions, tasks, products and services. A printed form does not need to copy a software screen, but the same operational logic is useful.
What Should a Work Order Form Include?
Most small-business work orders need five field groups. Use the groups as a starting point, then remove anything that has no clear owner or later use.
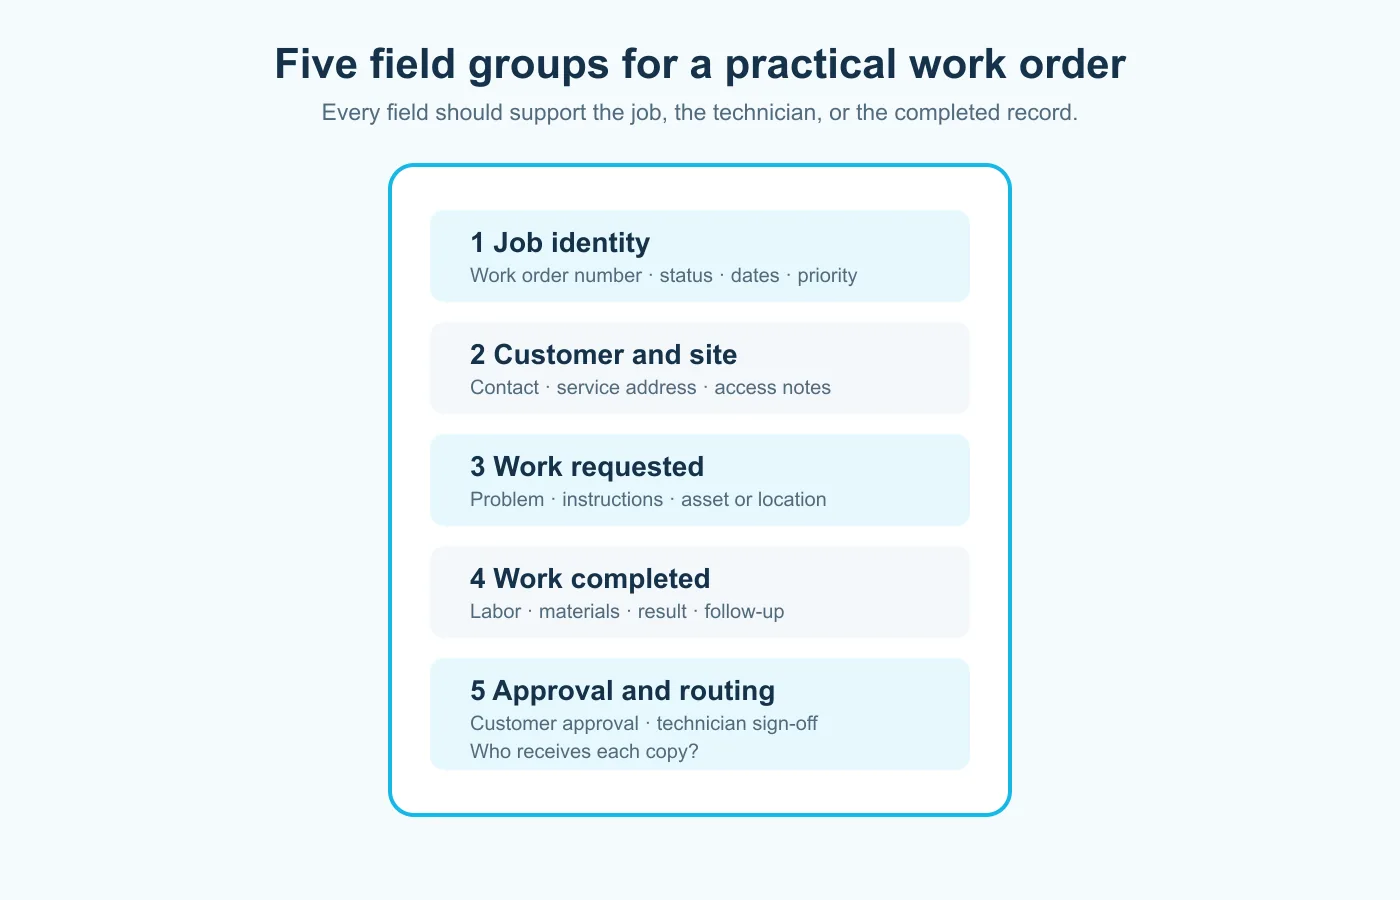
| Field group | Useful fields | Why it matters |
|---|---|---|
| Job identity | Work order number, date opened, scheduled date, priority and status | Lets staff find and track one job without relying on the customer name alone |
| Customer and site | Business or customer name, service address, contact details and access notes | Directs the technician to the right person and location |
| Work requested | Problem description, requested service, asset or equipment ID and instructions | Defines the assignment before work begins |
| Work completed | Labor time, materials, actions taken, result and recommended follow-up | Creates the operational record used after the visit |
| Approval and routing | Technician sign-off, customer approval, date, terms acknowledgment and copy recipient | Confirms completion and shows where each record goes |
Industry-specific fields may also be necessary. An equipment service company may need serial numbers and meter readings; a delivery or installation team may need item quantities and condition notes. Tax, warranty, payment and legal wording vary by business and location, so those elements should be confirmed with the appropriate adviser rather than copied from a generic form.
Keep the Header Easy to Scan
The top of the form should answer three questions immediately: which job is this, where is it happening and when is it due? Give the work order number, status and scheduled date a consistent location. Put the customer and service address nearby, but keep billing details separate if they differ from the job site.
Use labels that match the language your team already uses. “Service location” is clearer than “address” when one customer has several sites. “Requested work” and “work completed” are easier to distinguish than two large boxes both labeled “description.” If a dispatcher assigns urgency, use a short priority field with defined choices instead of an open text line.
Make Field Notes Usable
The technician’s section usually needs more writing space than the office header. Separate what was requested from what was found and what was done. This helps the next reader understand whether the technician completed the original request, discovered another problem or recommended a return visit.
- Labor: start and finish time, hours or technician code if your process uses them.
- Materials: description, part number, quantity and unit when inventory or billing depends on it.
- Outcome: completed, temporary repair, follow-up required or unable to complete.
- Next action: parts to order, return date, estimate needed or office action.
Leave enough physical space for handwriting. A field that works on a desktop form can become unusable when reduced to a half sheet or filled out while standing. Print the draft at actual size and test it with the pen and writing surface used in the field.
Plan Approval and Copy Routing
Customer approval should sit close to the completion summary, not on a disconnected corner of the page. Include a clearly labeled signature or approval area, printed name and date when your process requires them. If exceptions or unresolved work matter, provide a small place to record them before approval.
Then name the recipient of every copy. A two-part work order may suit a process in which the customer receives one copy and the office keeps one. A third part is useful only when a technician, subcontractor or another department needs an immediate paper record. Part count and physical format are separate decisions: the sets can be made into books, pads or another arrangement according to how blank and completed forms move through the business.
Test the Form Before Printing
Run a paper prototype through three realistic jobs before approving artwork. Ask a dispatcher, technician and office user to complete only their own sections. Do not explain the layout while they test it; confusion reveals labels and grouping that need improvement.
- Can the office prepare the form without entering the same information twice?
- Can the technician find the job instructions and writing areas quickly?
- Can a customer see what is being approved?
- Can billing or operations understand the completed record without a follow-up call?
- Does every copy contain the information its recipient needs?
Also test real handwriting pressure through every sheet if you plan a carbonless multipart form. Numbering, perforation, binding edge and a writing shield can affect field use as much as the printed layout.
Prepare a Quote-Ready Specification
Once the fields and workflow are approved, convert the design into a purchasing specification. This lets a printer assess the job accurately and reduces changes after quotation.
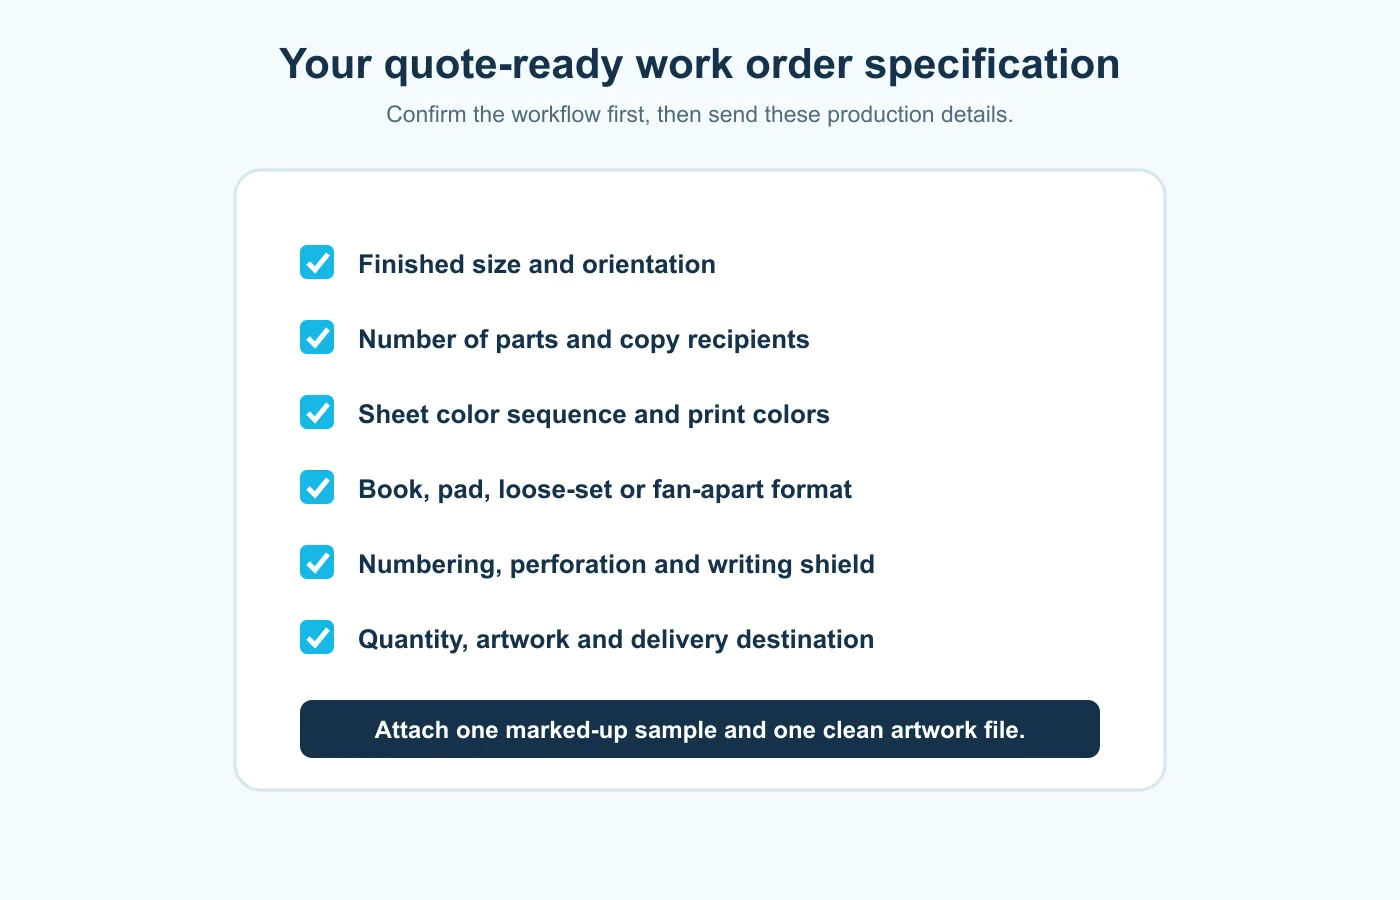
Confirm finished size, orientation, quantity, number of parts, sheet color sequence, print colors, numbering, perforation and how sets should be bound or padded. State who receives each copy, because that often explains the part count more clearly than “duplicate” or “triplicate” alone.
PrintingMaxx provides custom work order form printing for service businesses that need multipart NCR forms, numbering and finishing options. You can also review the wider business forms printing range or contact PrintingMaxx with a marked-up sample and your quote specifications.
Work Order Form FAQs
Do all work order forms need pricing fields?
Should the customer and technician sign the same area?
How many copies should a work order have?
Operational field examples in this article are informed by current Microsoft Dynamics 365 Field Service work-order documentation, including its guidance on status, dates, instructions, service accounts, tasks, products and services. The recommended printed layout is PrintingMaxx editorial guidance, not a claim that every business needs every field.
Sources: Microsoft Learn: New work order experience and Microsoft Learn: Create a work order.